
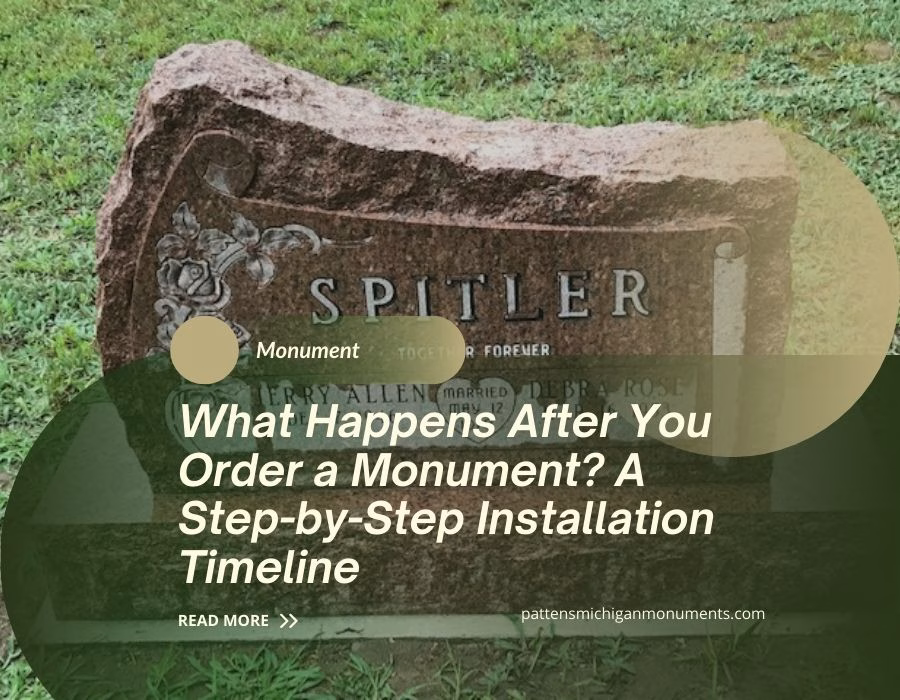
Monument installation is an essential process that families often wonder about once they have selected a memorial. While choosing a headstone is a significant decision, the journey doesn’t end after placing the order. Behind the scenes, several carefully coordinated steps ensure that the memorial is produced, delivered, and installed properly, providing a lasting tribute for generations to come.
Knowing what happens after ordering a monument helps families feel informed, confident, and reassured at every stage. From initial design approval to final placement in the cemetery, each step in monument installation is designed for accuracy, quality, and longevity.
This comprehensive guide walks families through the complete monument installation timeline, highlighting what to expect after ordering a memorial and how each stage contributes to a beautiful, enduring tribute.
Step 1: Design Approval and Order Confirmation
The first step in monument installation begins immediately after placing an order. At this stage, families review and finalize all details of the monument to ensure everything is accurate before production begins.
Typical tasks in this phase include:
Confirming the spelling of names and dates
Reviewing inscriptions, epitaphs, or quotes
Approving artwork, religious symbols, or decorative elements
Selecting granite color, texture, and finish
Finalizing monument dimensions and base style
Most monument providers offer a digital proof or mock-up of the memorial to visualize the finished product. Families are encouraged to carefully review every detail. Once approved, the order officially moves into production. Accurate approval at this stage prevents errors that cannot be corrected after engraving begins, ensuring a smooth monument installation process.
Tips for Families:
Double-check all spellings, dates, and inscriptions.
Ask about font styles, engraving depth, and symbol placement.
Confirm if personalization, such as photos or emblems, will be included.
Step 2: Cemetery Authorization
Cemetery approval is a critical stage of monument installation. Most cemeteries have rules regarding size, height, materials, and installation methods to maintain safety and uniformity.
Cemetery authorization typically includes:
Verifying monument dimensions fit within cemetery regulations
Confirming material types are allowed (granite, bronze, marble)
Reviewing foundation and installation requirements
Checking placement location within the designated plot
Experienced monument providers often handle all communication with the cemetery on behalf of the family. This ensures that approvals are received before production begins, preventing delays or the need for modifications later in the monument installation process.
Pro Tip:
Ask your monument provider for a copy of the cemetery’s guidelines to understand restrictions and ensure full compliance.
Step 3: Granite Selection and Preparation
Granite is the most common material for long-lasting monuments. Once the design is approved, high-quality granite is selected based on the desired color, pattern, and finish.
Preparation steps include:
Cutting the granite to exact dimensions
Polishing the surfaces for a smooth, reflective finish
Shaping the edges, corners, and base for a precise fit
Inspecting each slab for structural integrity and consistency
Granite is chosen for its durability and resistance to weather, which is essential for monuments that will stand for generations. Proper preparation ensures that the memorial remains strong and visually appealing throughout the years.
Step 4: Engraving and Personalization
Engraving transforms a granite slab into a meaningful and personalized memorial. This is one of the most important steps in monument installation because it preserves names, dates, and memories for generations.
Modern engraving techniques include:
Deep sandblasting: Carves inscriptions into the granite for long-lasting clarity
Laser etching: Adds detailed images or portraits with precision
Custom artwork: Includes borders, symbols, or decorative elements
A quality engraving process ensures that inscriptions remain readable for decades, even in harsh weather. Families are encouraged to review the engraving proofs carefully to ensure every detail is correct before installation.
Step 5: Quality Inspection
Before leaving the workshop, each monument undergoes a thorough quality inspection. This is a crucial step in monument installation to ensure that the memorial meets all design, durability, and aesthetic standards.
Inspections verify:
Correct spelling, dates, and engraving depth
Smooth and even polished surfaces
Accuracy of artwork and symbols
Structural integrity and overall stability
Any necessary adjustments are completed before delivery, ensuring the memorial arrives ready for a flawless installation.
Step 6: Scheduling Installation
After production and quality inspection, the installation schedule is coordinated with the cemetery. The timeline for monument installation depends on:
Cemetery availability and regulations
Seasonal or weather-related conditions
Monument provider’s scheduling and crew availability
Frozen or overly wet ground may delay installation, particularly in winter or spring. Families are usually notified once a firm installation date is set, allowing them to plan a first visit to the memorial.
Step 7: Foundation Preparation
A solid foundation is essential to prevent the monument from leaning, sinking, or shifting over time. Foundation preparation is one of the most critical steps in monument installation.
This stage includes:
Excavating and leveling the plot
Compacting soil to create a stable base
Pouring a concrete footing or laying a granite foundation
Allowing the foundation to settle properly before installation
Proper foundation preparation ensures long-term stability, durability, and alignment with cemetery requirements.
Step 8: Monument Installation
The monument is carefully installed by professional crews. During this stage, the prepared granite is lifted into place and secured to the foundation.
Key tasks include:
Precisely aligning the monument
Leveling the stone to ensure it stands straight
Securing the monument to the base for durability
Cleaning and restoring the site after installation
Professional crews use specialized equipment to handle the heavy granite safely, protecting both the memorial and surrounding cemetery grounds.
Step 9: Final Inspection and Completion
Once installed, a final inspection ensures that the monument installation is flawless. Inspectors check:
Alignment and stability
Surface finish and cleanliness
Accuracy of inscriptions and artwork
Surrounding landscape restoration
After final approval, families are notified and can schedule their first visit to the memorial. Seeing the completed monument often provides comfort, closure, and a permanent place for remembrance.
How Long Does Monument Installation Take?
The full monument installation timeline can range from 6 to 12 weeks, depending on several factors:
Cemetery approval process
Design complexity and personalization
Material availability
Seasonal weather conditions
Installation crew scheduling
Knowing these factors helps families plan visits and anticipate when the memorial will be ready for placement.
Why Monument Installation Requires Patience
Monuments are custom-crafted tributes meant to last for generations. Rushing the monument installation process can compromise quality, accuracy, and durability. Each stage — from design approval to final placement — is carefully executed to guarantee a beautiful and lasting memorial.
Patience during the process ensures that families receive a memorial that stands strong, remains visually appealing, and honors a loved one’s memory for decades to come.
Tips to Prepare for Your Monument Installation
Visit the cemetery beforehand: Understand the plot location and surroundings.
Ask about the timeline: Confirm expected delivery and installation dates.
Maintain communication: Stay in touch with the monument provider for updates.
Plan your first visit: Bring flowers, photos, or other meaningful items.
Understand maintenance: Learn how to care for the monument over time to preserve its appearance.
Proper preparation ensures that the monument installation process is smooth and stress-free.
Final Thoughts on Monument Installation
Understanding the monument installation process reassures families that every detail is handled professionally and carefully. From design approval and cemetery authorization to engraving, foundation preparation, and final placement, each step is critical to creating a lasting tribute.
A well-installed monument becomes a permanent memorial that honors a loved one, preserves family history, and provides a meaningful place for reflection for generations to come.
By knowing what to expect, families can feel confident that their memorial will be durable, beautiful, and professionally installed — a fitting tribute that endures for decades.


")
